This article explains how to manually set up Obscured VPN L2TP on MacOS X.
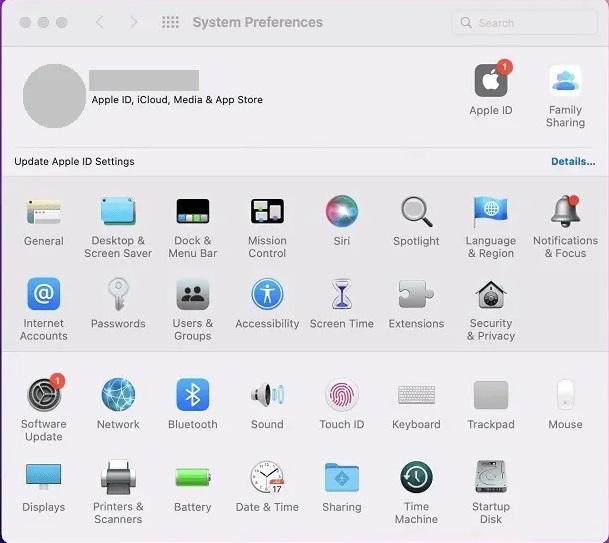
Click on the Apple logo on the top of the screen and go to System Preferences.

On the menu, click on Network.
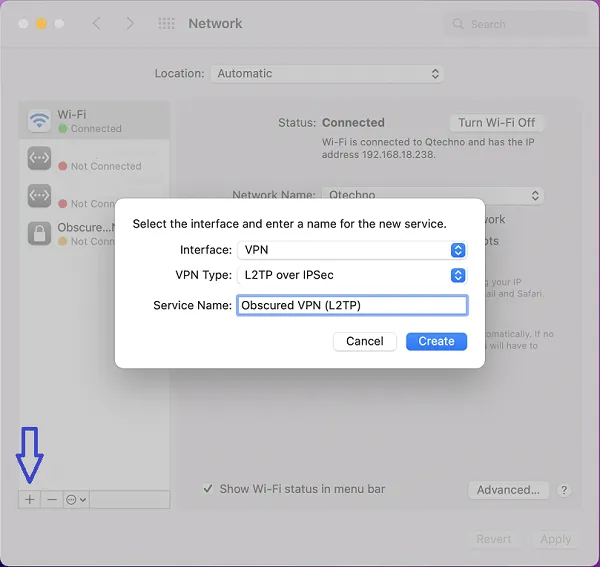
Find the + button at the bottom of the panel on the left. Click it and enter the following details in the pop-up window:
Interface: VPN
VPN Type: L2TP over IPSec
Service Name: Obscured VPN (L2TP)
Then press Create.
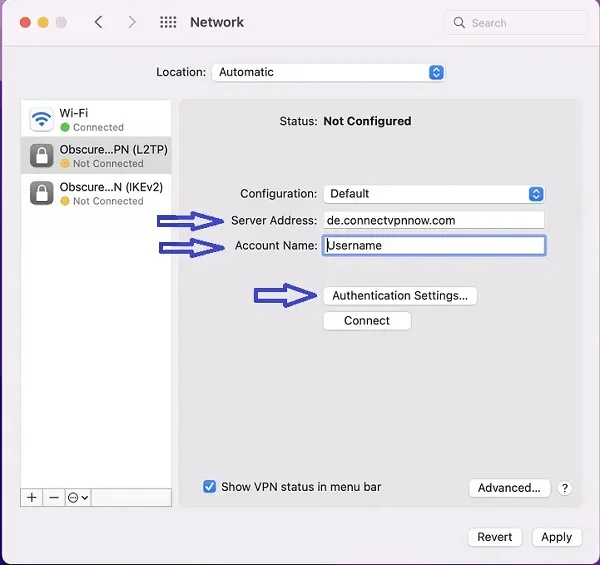
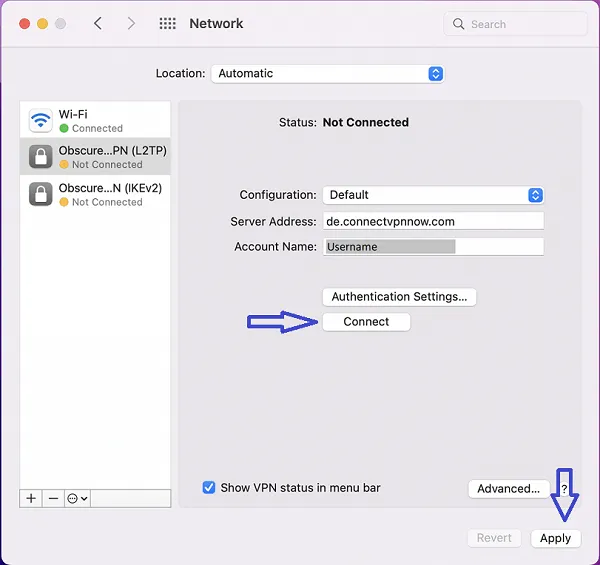
Click on the name of the L2TP network on the left-hand side panel and fill in the following details in the empty fields. Depending on the server location you want, enter the server address. For instance, here we want to connect to Germany, so we enter the following details:
Server Address: de.connectvpnnow.com
Account Name: Your Obscured VPN Username.
Then press Authentication Settings.
In the pop-up window, add this information in the fields:
Password: Your Obscured VPN account password.
Shared Secret: psk123
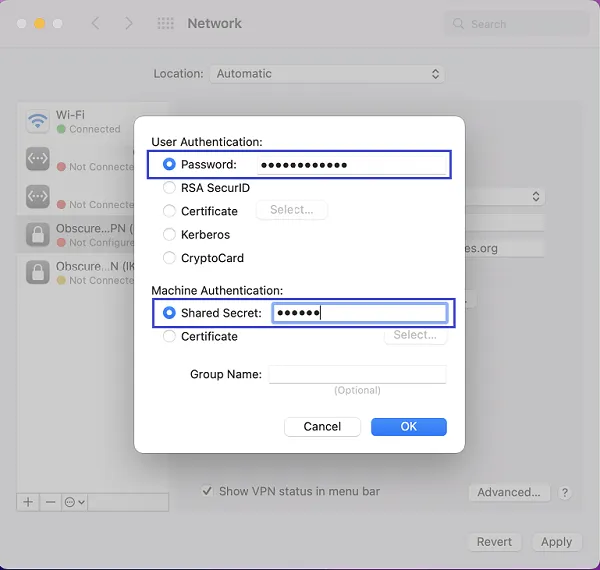
Now press Apply, and then press Connect.
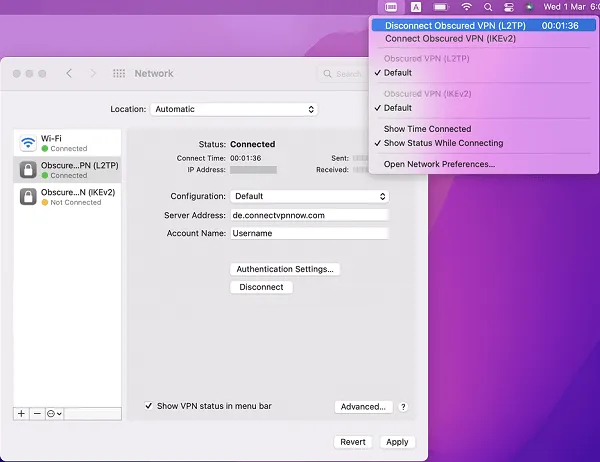
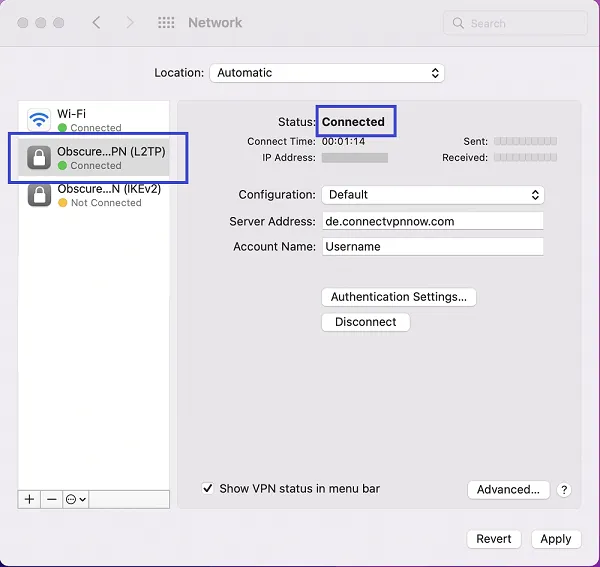
The VPN status will now be Connected. You have successfully set up Obscured VPN L2TP over IPSec protocol.
To disconnect the VPN, click on the VPN icon on the status bar at the top of the screen. From the menu, choose Disconnect VPN.